Email: ashcad@comcast.net

CLICK ON ANY LESSON FOR MY FREE YOUTUBE TUTORIAL
Welcome to autocad. I’m sure that you will learn a lot about autocad in this class so that you could probably go out and get a job as an autocad technician if you wanted to.
You will learn that autocad is a two handed operation. Your right hand goes on the mouse and your left hand should be positioned over the keyboard especially over the escape key. We will be using the escape key a lot. Also you should have a roller button on your mouse. In addition, you have to think about the size of the objects that you draw because the size of the objects do matter. The size of objects come into play when you start to add dimension, text and printing etc.

There are not a lot of objects in autocad. There are objects types like lines, ars, circles polyline dimensions and text hatch. What we do is move the objects, copy and trim and extend lines. All these objects have grips on them and they all have different properties. Also, there are different ways of drawing all objects.
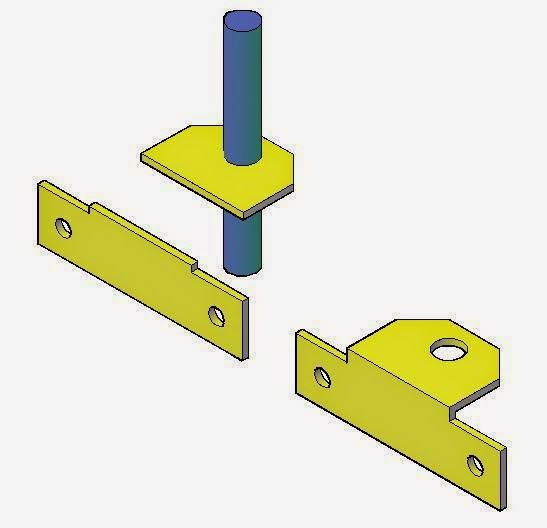
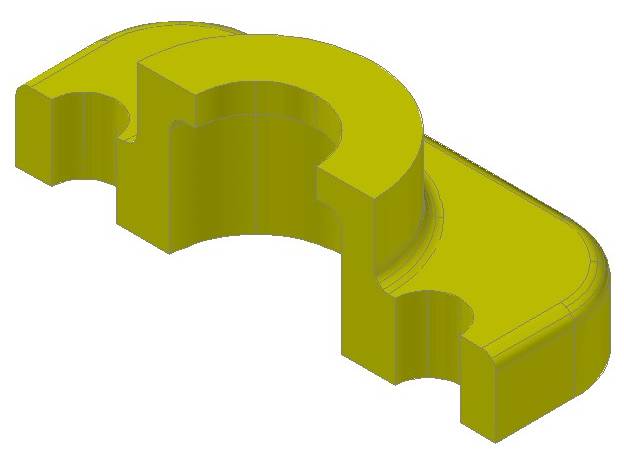
In addition, we will be drawing solid objects which you will enjoy drawing and appreciate when viewing them in 3d. We can also can insert blocks and text into tables that we can create using autocad. We can do hatch marks at different angles and use different kind of hatch patterns for metals, stone sand etc. All those objects can be manipulated, trimmed, stretched and so forth.
LAYERS: Every student has to learn about layers because every object has to have a layer. With layers, you control color, visibility and whether the layers are on, off or frozen.
BLOCKS: Also, blocks are a useful tool. Blocks are just groups of objects. A sample block might be a table or a chair. You can save that block outside the drawing file with its own .dwg designation. Blocks can then be inserted into any drawing as often as desired.
SCALE FACTOR: Scale factor is very important. You might want to draw a football field and need a scale of 1/100 or a map and need a scale of 1/500. You might draw something small like a laptop or a piece of furniture and your scale factor might be 1/1 or 1/4. You might want to specify on a drawing, different units such as Decimal, Fractional or Architectural units..

Here is more about what to do in order to get started drawing quickly.
1. Type units, ENTER to get the dialogue box.
2. Type limits ENTER left lower corner is 0,0
3. Zoom All
4. Draw

In this lesson, the tutorial will be about the middle mouse button. If you hold the mouse down, you will get a PAN option. As long as you press the roller button and release you can PAN.
In addition, if you wheel in, you can zoom in. If you wheel out, you can zoom out. After you practice the roller button wheel, it will become second nature to you and you will gain proficiency.

In the next tutorial, the lecture will be about INTERFACE. It’s all about the screen area and getting your input into autocad. It has to do with command input-output. I have my own method for setting up the toolbars as you know. You can allow or disallow docking of a toolbar but I want everyone to dock the toolbars and to have the same interface on their computers.
When autocad starts up it is loading a specific .dwt template file. It is called acad.dwt. When you start up you can have a choice of what file to use. For example you can choose as to whether you want an imperial or metric file to draw on. Or you can have a file inserted that already has blocks in it or all your layers. The start up drawing could also have your title block or format already set up. This can save you a lot of time by having previously used settings. Such drawings can be saved in your dwt template files so that when you start to draw, a lot of your drawings have already been setup. The dwg extension is the drawing file while the dwt is the template file.
Once we haave started a drawing with a template file, We can save it under the current name or saveas if we want to change the name or location. Or we can open an existing file or we can open more than 1 file at a time. You can also add a shortcut to a folder that is used frequently.
One nice thing about autocad is that you can open more than 1 drawing at a time and then cut and paste from one drawing to the next..
When we start a line or circle, arc etc, and you hit esc, it stops a command. Furthermore, it we hit the enter key or spacebar, it repeats what was the last command. If you hit esc, it stops it then you can hit spacebar to restart the line command, for example.

Today’s tutorial will be about function keys. Note that on the keyboard you have function keys starting with F1 up to F12. When you toggle one of the F keys you will notice that familiar things happen on the screen. That is because in autocad there is always more than one way to change things. For now please remember that F8 is ortho on or off, F3 is for osnap on or off. Also, F1 is always the help command which is typical on all Microsoft programs.

Todays tutorial will be about the undo and redo buttons. These are really important tools. Imagine, in the old days of paper drawings we had to use a pencil or electric eraser to change a drawing and if the changes were vast you had to start the drawing all over again on a new sheet of paper.
A lot of time was wasted. Now, you can type U enter, to get rid of the last thing you drew or use the undo or redo arrows. You can also use the undo commands even when you are in the middle of a command like the line or copy command.

Today’s tutorials will be about the zoom all and zoom extents commands. Of course, I can use my wheel button on the mouse to wheel out or wheel in. You can type Z enter E enter will zoom extents to show everything that has already been drawn.

OSNAPS or object snaps are used constantly or all the time. These are the snaps that make our drawings accurate. It allows us to draw to the endpoint, midpoint, intersection, tangent, quadrant, center and other different snap points.
A running osnap is very important. If you right click on settings, you will get a dialog box which shows all the potential object snaps. Some work with lines, some with circles, some with text or many different objects. You can clear all or activate the osnaps you want to use.

Ortho is controlled by the F8 key. Ortho lets you draw things that are square.
Ortho also applies if you are moving stuff around. Ortho controls your movement to be square, whether you are drawing, copying or moving.
By selecting a new UCS you can change the angle of the crosshair, as when making an isometric drawing so that if ortho is on you draw lines on an angle which will be square. You have to go back to UCS world to draw horizontal and vertical lines.

GRID: An area on the graphics display covered with regularly spaced dots which can be an aid in making a drawing. The spacing between grid dots is adjustable. Incidently, Grid dots are not plotted.
SNAP GRID: The invisible grid that locks the pointer into alignment with the grid points according to the spacing set by Snap;, Snap grid does not necessarily correspond to the visible grid, which is controlled separately by GRID(SNAP).

Lesson 16: Zero ZerO
When you open a drawing in autocad, you will notice that
in the lower, left corner of the screen, the UCSicon will
appear. The ucsicon can be turned on or off by typing the
word ucsicon and choosing whether or not you want it
On or off. Ordinarily it is set at the X and Y coordinates of 0,0 In many situation, you will want to change the location of the UCS as in the case of ordinate or datum dimensioning. There are many other uses for the ucsicon which will become apparent later on.

ABSOLUTE COORDINATES: Coordinate values measured from a coordinate system’s origin point. UCS: WCS.
RELATIVE COORDINATES; Coordinates specified in relation to provious coordinates.

With object tracking you can define new geometry by
using object snaps. You can find tracking points by
hovering over a snap locations and then start to draw.
It’s complicated and requires much practice. Still it
can be a useful tool.
The line is the basic object in Autocad. You can create a variety of lines, single lines, multiple line segments with and without arcs, multiple parallet lines, and freehand sketch lines. In general you draw lines by specifying coordinatge points, properties such as linetype or color, and measurements such as angles. The default linetype is CONTINUOUS, an unbroken line, but various linetypes are available that use dots and dashes.

You can create circles in several ways. The default method is to specify the center and radius. You can also specify the center and diameter or define the diameter alone with two points. You can define the circle’s circumference with three points. You can also create the circle tangent to three existing objects or create it tangent to two objects and specify a radius.
THE END
Thanks for sharing..
ReplyDeleteAutoCAD Tutorial
I have to write an assignment on an engineering company that use CAD to design their products. What company use this software? Apple? Sony?.
ReplyDeleteSolidworks Course
No one ever really enjoys a visit to any medical practitioner. However, we all must have regular checkups for the sake of our health. One particular doctor, that you might not clearly understand is the orthodontist.
ReplyDeleteOrthodontist Revere MA